Introduction to Halloween Lush
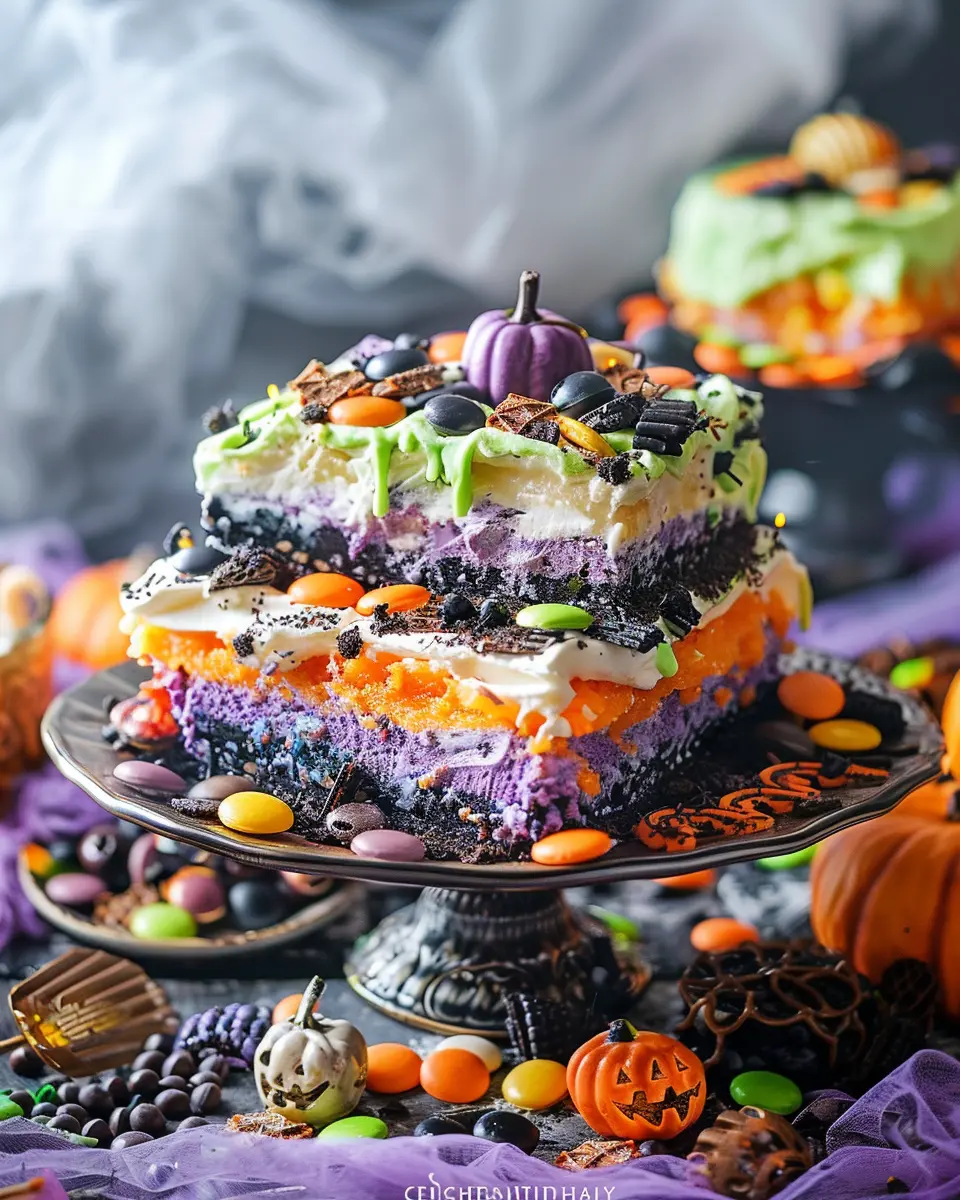
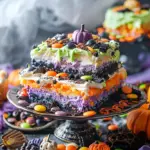
As the leaves begin to turn and the air gets crisp, it’s the perfect time to bring some festive flair to your gatherings. Enter Halloween Lush, a standout dessert that not only captures the essence of autumn but also adds a playful twist to your holiday celebrations. This no-bake, layered treat is visually stunning and offers an array of textures and flavors that everyone will love.
What is Halloween Lush and Why Is It Perfect for Fall Celebrations?
So, what exactly is Halloween Lush? Think of it as a creamy, indulgent trifecta of deliciousness—all in one dish. This delightful concoction typically features layers of fluffy whipped cream, rich pudding, and crumbled cookie crust, making it both light yet satisfying. The beauty of Halloween Lush lies in its versatility; you can incorporate seasonal flavors such as pumpkin, spiced ginger, or even apple to really nail the fall vibe!
This delicious dessert not only appeals to the taste buds but also provides an excellent canvas for some fun Halloween decoration. You can use crushed candy corn or vibrant orange sprinkles to mimic pumpkin patches or sprinkle in some spooky edible decorations for added flair. Hosting a Halloween party? Just imagine the delight on your guests’ faces as they dive into a colorful cup of this decadent dessert!
But it’s not just about taste and looks; Halloween Lush can also accommodate various dietary preferences. Whether your friends are vegan, gluten-free, or just love a lighter option, you can easily swap in healthier alternatives—check out these great ideas on substituting ingredients.
Why You’ll Love Making It
What makes Halloween Lush even more appealing is that it’s incredibly simple to prepare. With minimal cooking required and a quick assembly process, you can whip this up in no time, leaving you with more time to enjoy the festivities. This dessert is not just a treat—it’s a conversation starter and a way to share the joys of the season with loved ones. So, if you’re looking to impress this Halloween, consider making this lush delight.
Ingredients for Halloween Lush
Essential ingredients for a festive dessert
Creating a delightful Halloween Lush is all about using the right ingredients to achieve that enchanting balance of flavors and textures. To get started, make sure you have the following essentials on hand:
- Cream cheese: A creamy base that adds rich flavor and texture.
- Whipped topping: Light and airy, perfect for layering and providing that lush feel.
- Sugar: A touch of sweetness enhances all the other flavors.
- Vanilla extract: This brings a lovely depth to the dessert.
- Pumpkin puree: Key for that seasonal essence, giving the lush its festive vibe.
- Gelatin: A critical component for that perfect set.
A fun addition to your Halloween Lush would be colorful sprinkles or candy corn for a festive finish.
Curious about what else you can add or how to elevate your dessert game? Check out this guide on The Science of Dessert Layering for some great tips!
The beauty of a Halloween Lush lies in its versatility, so feel free to get creative with flavors that resonate with your personal taste and style. Happy cooking!
Preparing Halloween Lush
If you’re looking for a fun and delicious way to incorporate the spirit of Halloween into your dessert table, then you’re in the right place! This Halloween Lush is a tantalizing treat that layers rich flavors and vibrant colors, making it perfect for gatherings with friends or family. Let’s dive into each step to create this festive dessert that is sure to impress your guests!
Gather your equipment and ingredients
Before you dive into the deliciousness, it helps to have everything ready. Here’s what you’ll need to gather for this Halloween Lush:
Equipment:
- 9×13 inch baking dish
- Mixing bowls
- Electric mixer or whisk
- Rubber spatula
- Measuring cups and spoons
Ingredients:
- 25-30 Oreo cookies (or a gluten-free alternative)
- 6 tablespoons unsalted butter, melted
- 2 cups boiling water
- 1 package (3 oz) orange gelatin
- 1 cup cold water
- 1 package (4 oz) instant vanilla pudding mix
- 2 cups milk
- 8 oz cream cheese, softened
- 1 cup powdered sugar
- 1 container (8 oz) whipped topping, thawed
- Optional: gummy worms or other Halloween candies for decoration
Having this checklist makes the prep smoother, allowing you to focus on the fun parts—like assembling this spooky masterpiece!
Create the Oreo cookie crust
Starting with the base, you’ll want to crush those Oreo cookies. If you’re short on time, a food processor can make quick work of it! Here’s how:
- Crush the cookies in a bowl until they resemble fine crumbs.
- Combine the cookie crumbs with the melted butter in a mixing bowl.
- Press this mixture firmly into the bottom of your baking dish. This crunchy crust will be the perfect foundation for your Halloween Lush.
Prepare the orange gelatin layer
Now for that eye-catching orange layer that screams Halloween!
- In a bowl, dissolve the orange gelatin in 2 cups of boiling water, stirring until fully dissolved.
- Add in the cold water, mixing well.
Once it’s ready, let it cool slightly, and then pour it over the cookie crust.
Make the creamy pudding filling
This creamy layer adds richness and makes your Halloween Lush even more decadent.
- In another bowl, whisk together the pudding mix and milk until you achieve a smooth consistency.
- In a separate bowl, beat the softened cream cheese until smooth, then gradually add the powdered sugar, mixing until combined.
- Fold the pudding mixture into the cream cheese until well blended. This will give you a delightful, creamy filling that complements the flavors perfectly.
Assemble the layers in the baking dish
Once your layers are prepared, it’s time for assembly!
- Begin by spreading the creamy pudding filling over the orange gelatin layer.
- Use your spatula to ensure it’s an even layer.
This process is where your dessert begins to take shape, and the excitement builds!
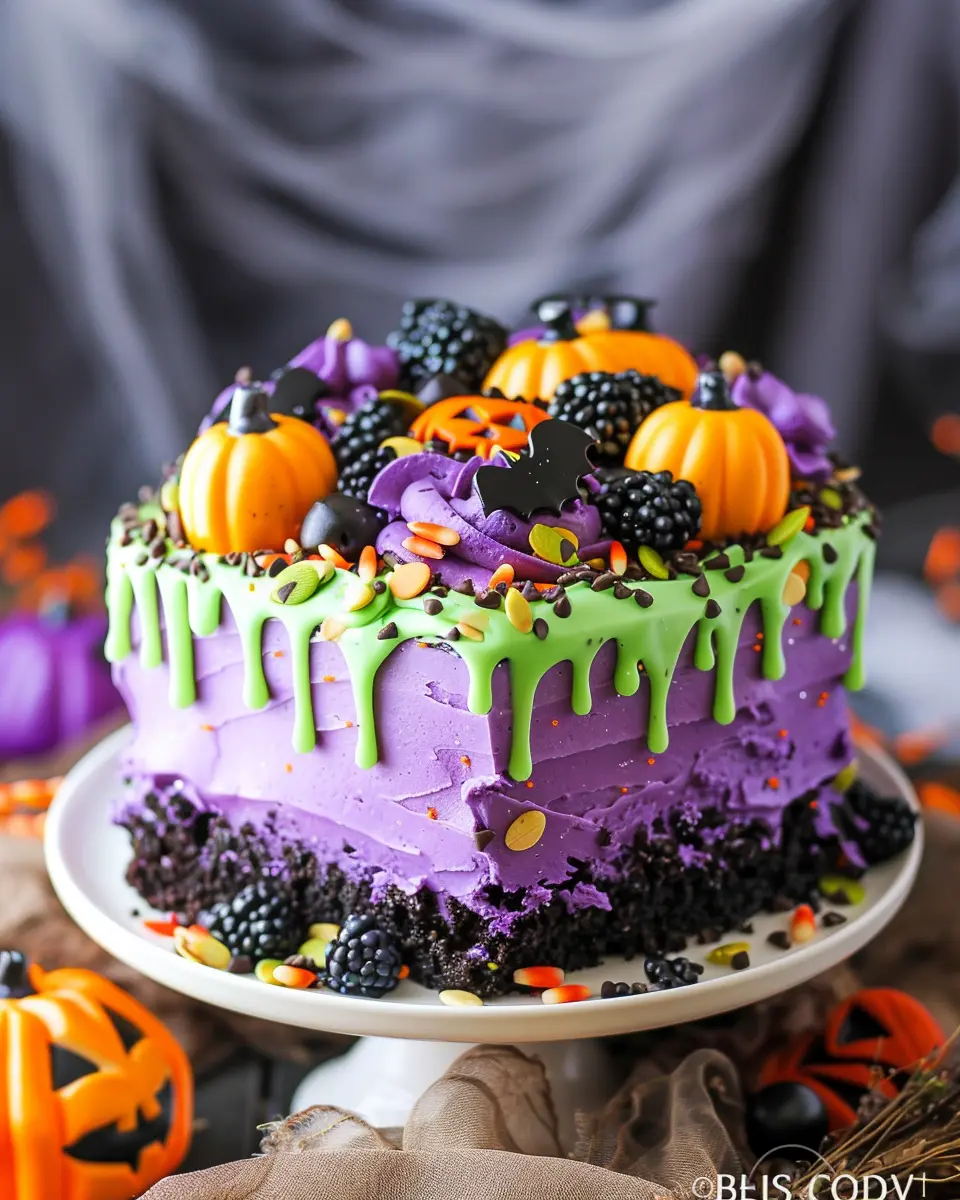
Add the colorful whipped topping
Let’s finish strong with a pop of color.
- Spread the whipped topping over the creamy filling. A nice thick layer adds lightness and sweetness.
- For extra spookiness, you can sprinkle some crushed Halloween candies or edible decorations on top.
Chill and set the dessert
Finally, the last step before you can dig in is chilling the Halloween Lush.
- Cover the baking dish with plastic wrap and refrigerate for at least 4 hours, or preferably overnight. This allows the layers to set well and enhances the flavors.
Feel free to check out this guide for more creative desserts that are perfect for any occasion. You’ll find that once your Halloween Lush has set, it’s not just a treat—it’s a conversation starter! Get a slice of this colorful delight ready for your next Halloween bash, and watch it disappear in no time. Happy mixing, and enjoy the spooky season!
Variations on Halloween Lush
Exploring Flavor Combinations for Halloween Lush
When it comes to Halloween Lush, the flavor possibilities are nearly endless. You can mix and match to create a spooky dessert that suits every palate.
- Chocolate and Peanut Butter: Swap vanilla pudding for chocolate and add a layer of creamy peanut butter for something uniquely festive.
- Pumpkin Spice Delight: Incorporate pumpkin puree into your cream cheese layer and add a hint of cinnamon for an autumn-themed version.
- Berry Medley: Use a blend of strawberries, blueberries, and raspberries instead of classic Halloween candies for a fruity twist. This not only enhances flavor but adds a pop of color.
Feel free to experiment and discover your favorite combinations! If you’re looking for more ideas on flavor fusions, check out Food Network for recipe inspiration.
Allergy-Friendly Adaptations for Halloween Lush
Making your Halloween Lush accessible to friends with dietary restrictions can be a breeze! Here are some clever adaptations:
- Gluten-Free: Use gluten-free graham crackers or swap with crushed gluten-free cookies for the crust.
- Dairy-Free: Substitute dairy products with coconut cream and dairy-free cream cheese. These changes keep the texture rich without the lactose.
- Nut-Free: For those with nut allergies, ensure any cookie or topping is free from nuts. You can also replace peanut butter with sunflower seed butter for a similar taste without the risk.
Adjusting your recipe to cater to everyone’s needs doesn’t have to be daunting—it’s all about creativity. If you want tips on allergy-friendly baking, consider visiting Allrecipes.
By experimenting with these variations, your Halloween Lush can become a spooky staple at any gathering, accommodating a myriad of tastes and dietary preferences!
Cooking tips and notes for Halloween Lush
Creating the perfect Halloween Lush is all about mastering those delightful layers that surprise and enchant. Here are some essential tips to ensure your dish looks as great as it tastes!
Essential tips for perfecting the layers
-
Chill Between Layers: After each layer, let your Halloween Lush chill for 30 minutes. This helps set the layers and gives a beautiful, distinct look when served.
-
Use Room Temperature Ingredients: Mixing cold ingredients can lead to lumps. Let your cream cheese and whipped topping sit at room temperature for a smoother texture.
-
Gently Fold in Ingredients: When adding whipped topping, fold it in gently to maintain its airy quality. This keeps your layers light and fluffy.
-
Decorate Creatively: Use festive toppings like crushed Halloween candies for an eye-catching finish. Not only does it add texture, but it also enhances the festive vibe.
For more techniques and cooking tips, check out sites like Serious Eats and Epicurious for guidance and inspiration.
Follow these tips, and your Halloween Lush will be the star of the spooky season!
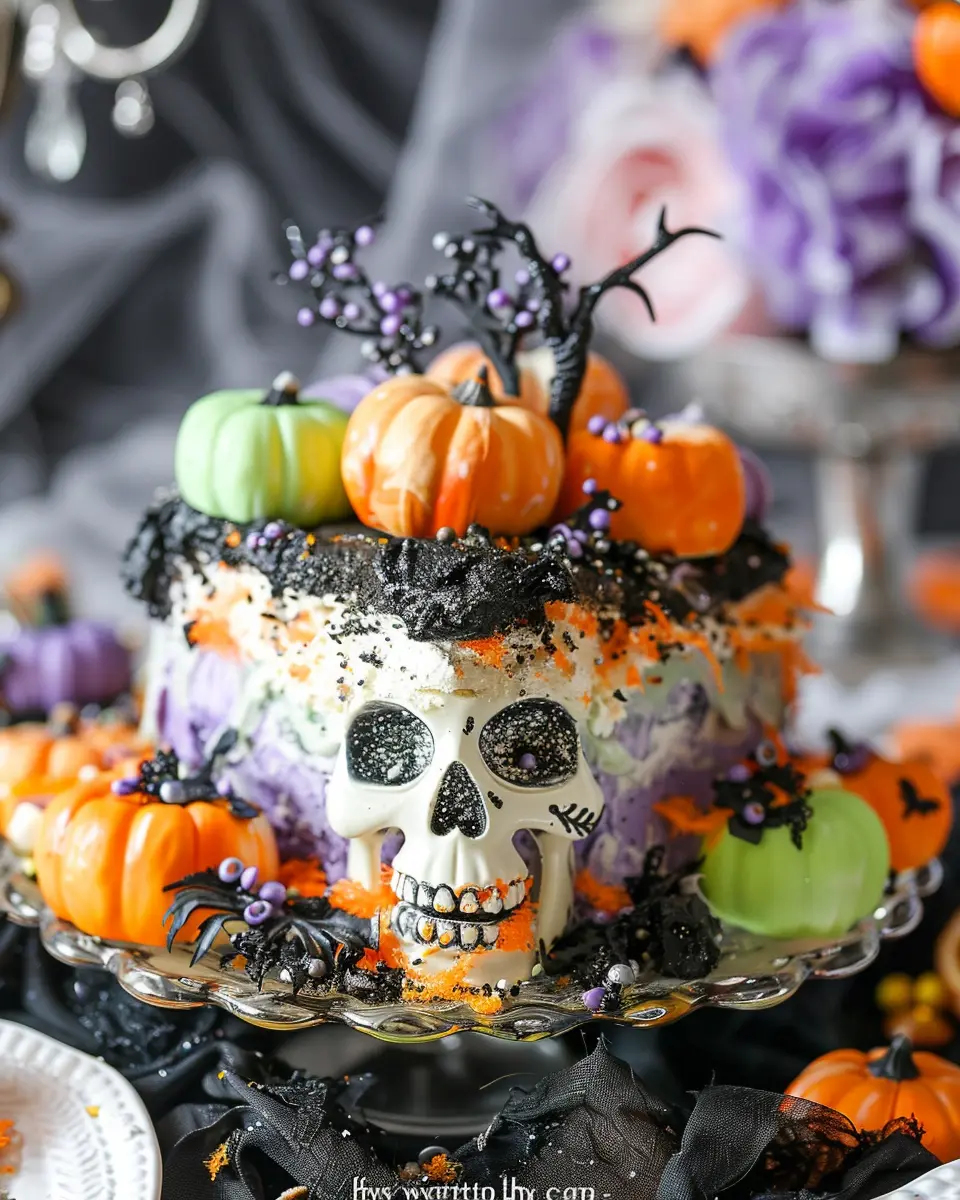
Serving suggestions for Halloween Lush
When it comes to presenting your Halloween Lush, a little creativity can go a long way! Here are some fun and engaging ways to make your dessert the star of your spooky gathering.
Creative Ways to Present and Serve Your Dessert
-
Layered Glasses: Use clear dessert cups or jars to showcase the beautiful layers of your Halloween Lush. This not only looks impressive but allows guests to see the vibrant colors, increasing anticipation before the first spoonful.
-
Spooky Toppers: Get into the holiday spirit by adding playful toppers. Consider gummy worms, candy eyes, or even edible glitter for a magical touch. These additions can turn an ordinary dessert into a festive centerpiece.
-
Mini Servings: Instead of large portions, serve up Halloween Lush in mini cups. These bite-sized servings are perfect for a potluck or buffet setting, allowing guests to try multiple desserts without feeling too full.
-
Themed Decor: Don’t shy away from themed decorations. Think pumpkin-shaped plates or black and orange napkins to complement your dish. Creating an immersive experience can elevate your gathering and make your dessert memorable!
For more ideas on entertaining, check out resources from the American Society of Association Executives to ensure your Halloween is as captivating as your Halloween Lush!
Time Breakdown for Halloween Lush
When preparing your Halloween Lush, it’s crucial to manage your time effectively to make the process enjoyable. Here’s a simple breakdown to help you plan your spooky dessert adventure.
Preparation Time
To whip up this delightful treat, set aside about 20 minutes. This time includes gathering ingredients like turkey bacon, chicken ham, cream cheese, and any fun decorations. Channel your inner creative chef as you layer the flavors!
Chilling Time
Once your Halloween Lush is assembled, let it chill in the refrigerator for at least 4 hours. This step is essential for allowing the flavors to meld together, resulting in a richer taste. For best results, consider letting it chill overnight!
Total Time
In total, you’ll need about 4 hours and 20 minutes to complete your Halloween Lush. This easy-to-follow timeline means you can have more fun decorating and less stress worrying about dinner. So get ready to impress your friends and family with this delightful festive dish!
For more tips on perfecting your chilled desserts, check out Food Network’s guide to chilling techniques. Happy cooking!
Nutritional Facts for Halloween Lush
Calories per serving
If you’re diving into the delightful world of Halloween Lush, you might be wondering about its caloric content. Each serving typically contains around 250 calories, allowing you to indulge without too much guilt. This makes it a fun treat for gatherings or cozy nights in, but it’s good to be mindful of portions, especially with so many delicious layers!
Key Nutritional Components
When you enjoy a serving of Halloween Lush, you’re treating yourself to more than just sweetness. Here’s what you can expect nutritionally:
- Fat: Approximately 10g, depending on the cream cheese and whipped topping used. Opt for reduced-fat versions to enjoy a lighter option.
- Protein: About 3g, primarily from the cream cheese and any added toppings.
- Carbohydrates: Roughly 35g, largely from the crust and candy toppings.
Incorporating ingredients like Greek yogurt can not only enhance texture but also add some extra protein while keeping your dessert dreamy. For a deeper dive into balancing sweet treats with nutrition, you might find this Nutritional Guide helpful.
Does Halloween Lush sound like it’s worth the calories? With the right ingredients, it can definitely be a sweet twist on your typical desserts without sacrificing too much on nutrition. Just remember to enjoy in moderation and share with friends!
FAQs about Halloween Lush
Can I make Halloween Lush a day in advance?
Absolutely! Preparing your Halloween Lush a day in advance is not only convenient but can also enhance its flavors. The longer it sits, the more the ingredients meld together, creating a delightful, spooktacular treat. Just be sure to cover it well with plastic wrap or aluminum foil to keep it fresh in the refrigerator. This way, you can focus on your Halloween festivities without the stress of last-minute cooking!
What can I substitute if I don’t have pumpkin-flavored items?
If you’re in a pinch and don’t have pumpkin-flavored ingredients, don’t worry! You can easily switch them out for some delicious alternatives. Here are a few ideas:
- Sweet potato puree for a similar texture and a slightly different flavor profile.
- Maple syrup or honey to give it that sweet, autumnal flair without the pumpkin.
- Alternatively, a blend of cinnamon, nutmeg, and vanilla can replicate that rich flavor!
These substitutions keep your Halloween Lush delightful and comforting, even without the pumpkin!
How do I store leftover Halloween Lush?
Storing any leftovers from your Halloween Lush is super simple! Just scoop them into an airtight container and pop them in the fridge. It should stay fresh for about 3-4 days. If you’re feeling creative, you could even repurpose some of it as a topping for a morning yogurt or spread it on toast. Versatile leftovers? Yes, please!
For more ideas on how to store food effectively, check out this helpful resource from FoodSafety.gov. Happy Halloween!
Conclusion on Halloween Lush
Why you need to try Halloween Lush this season!
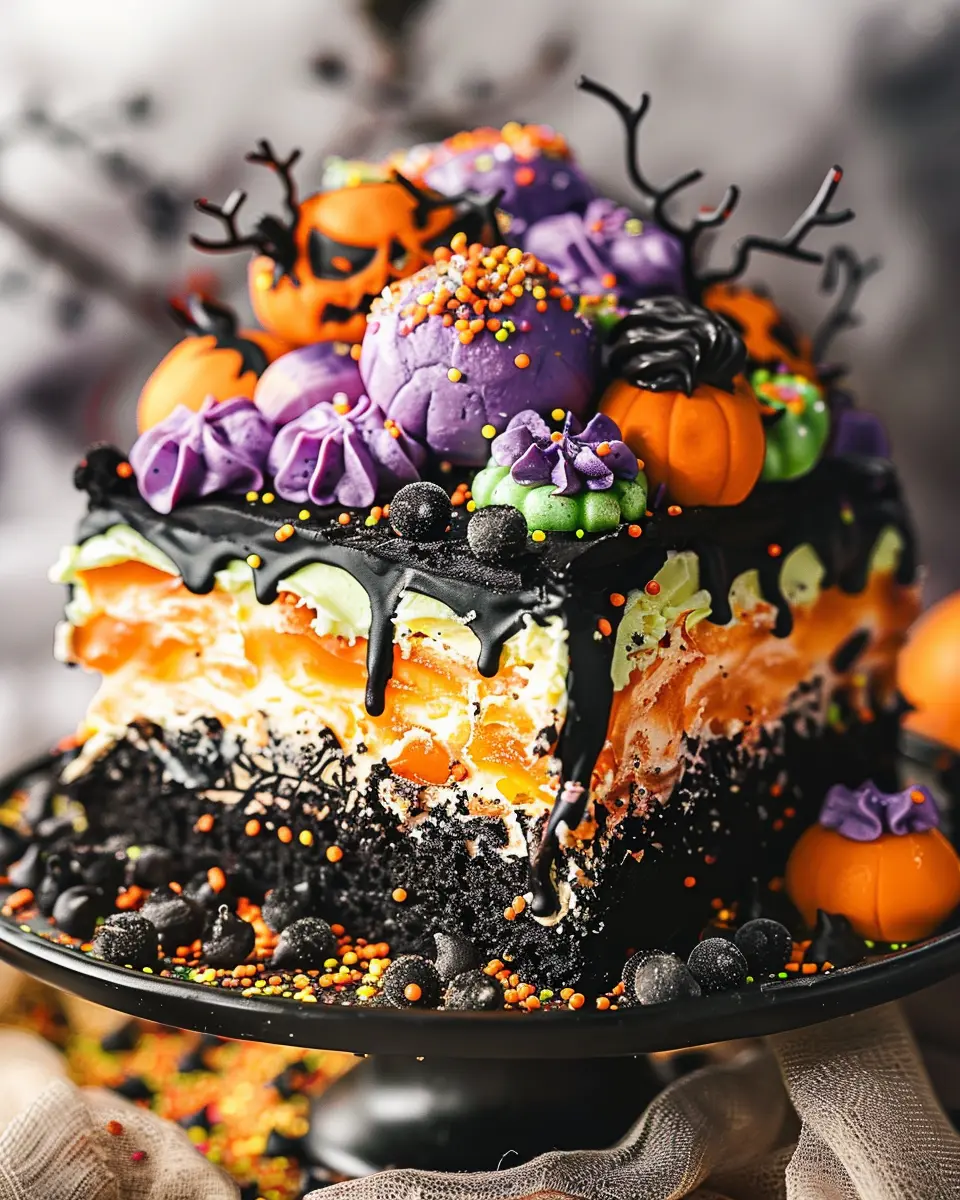
As the crisp autumn air rolls in, there’s no better time to indulge in a festive treat like Halloween Lush. This delightful layered dessert not only looks appealing with its vibrant colors, but it also satisfies your sweet tooth with a combination of creamy and fruity flavors.
Imagine serving this vibrant dessert at your next Halloween gathering—your friends will be amazed! Beyond its visual charm, it’s incredibly easy to prepare, allowing you to focus on the fun of the season rather than spending hours in the kitchen. Plus, it can be enjoyed by guests of all ages!
Don’t miss out on the chance to create lasting memories this Halloween. For more inspiration on fall treats, check out resources like Taste of Home or Food Network to keep the festive spirit alive all season long!
PrintHalloween Lush: Indulgent Recipes for Spooky Home Cooking
Delve into delightful and indulgent Halloween-inspired recipes that combine spooky fun with delicious home cooking.
- Prep Time: 20 minutes
- Total Time: 4 hours 20 minutes
- Yield: 12 servings 1x
- Category: Desserts
- Method: No-bake
- Cuisine: American
- Diet: Vegetarian
Ingredients
- 2 cups crushed graham crackers
- 1 cup unsalted butter, melted
- 1 cup powdered sugar
- 8 ounces cream cheese, softened
- 2 cups whipped topping
- 1 package instant vanilla pudding mix
- 2 cups milk
- 1 cup orange gelatin
- 2 cups boiling water
- 1 cup cold water
Instructions
- In a bowl, mix crushed graham crackers with melted butter and powdered sugar. Press the mixture into the bottom of a 9×13 inch pan to form the crust.
- In another bowl, beat the cream cheese until smooth. Fold in whipped topping.
- Spread the cream cheese mixture over the crust evenly.
- Prepare the instant vanilla pudding as per package instructions, using milk. Pour over the cream cheese layer.
- Dissolve the orange gelatin in boiling water, then add cold water. Pour over the pudding mixture.
- Refrigerate for at least 4 hours or until set before serving.
Notes
- For added spookiness, consider using edible decorations like gummy worms or candy spiders on top.
Nutrition
- Serving Size: 1 piece
- Calories: 350
- Sugar: 30g
- Sodium: 200mg
- Fat: 20g
- Saturated Fat: 12g
- Unsaturated Fat: 8g
- Trans Fat: 0g
- Carbohydrates: 40g
- Fiber: 1g
- Protein: 4g
- Cholesterol: 50mg
Keywords: Halloween Lush, Halloween recipes, spooky cooking, indulgent desserts