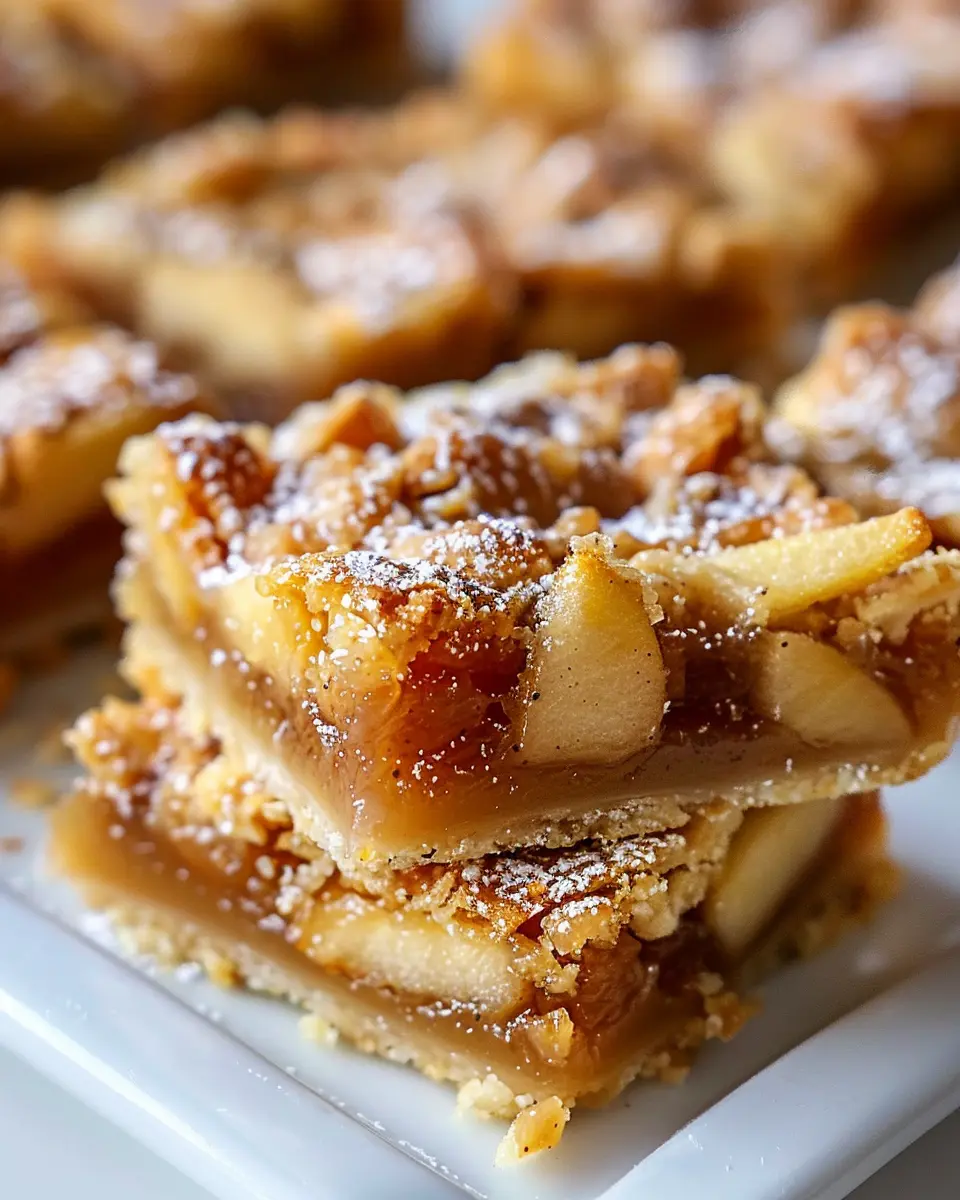
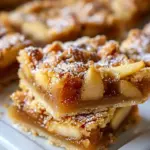
Introduction to Apple Pie Bars
If you’re a young professional navigating the whirlwind of work and social commitments, you might find it challenging to whip up a homemade dessert that impresses yet remains uncomplicated. That’s where apple pie bars come into play! These delightful treats blend the nostalgia of traditional apple pie with the convenience of portable bars. They’re perfect for sharing at office gatherings or simply enjoying on a cozy evening at home.
Why Apple Pie Bars Are the Perfect Dessert for Young Professionals
Imagine coming home after a long day, weary but craving something sweet. Preparing a classic apple pie can be time-consuming, but apple pie bars offer a quicker, easier alternative that doesn’t skimp on flavor. They can be prepared in a single dish and require minimal clean-up, which is a game changer for those in a rush. The straightforward recipe allows you to step into the kitchen, even on a busy weeknight, and whip up a batch in about an hour, including baking time.
Moreover, these bars are incredibly versatile. You can customize them to suit your preferences by adding your favorite spices or adventurous toppings. Interested in a twist? Try a sprinkle of cinnamon or a dash of nutmeg for that quintessential autumn flavor. Check out this article on spice blends for inspiration.
Not only are apple pie bars a treat for the taste buds, but they also let you showcase your baking prowess without the fuss. They are excellent for taking to parties or work events, where they are sure to spark delightful conversations about your culinary skills. Plus, who doesn’t love an easy dessert that allows guests to grab a slice without needing utensils?
In a world where balancing work and life can be a challenge, having a quick and tasty dessert at your fingertips can make a significant difference. So the next time you need to impress or simply satisfy a sweet tooth, remember that apple pie bars are the answer you’ve been looking for!
Ingredients for Apple Pie Bars
Essential Ingredients for the Base and Filling
When making apple pie bars, you want to keep things simple yet flavorful. Here’s a breakdown of what you’ll need to whip up a delicious batch everyone will love.
For the Crust:
- Butter: 1 cup, unsalted. This provides rich flavor and a tender texture.
- Granulated Sugar: ½ cup for a hint of sweetness in the crust.
- All-Purpose Flour: 2 cups to create the perfect base that holds together.
- Salt: A pinch enhances all the flavors.
For the Filling:
- Apples: About 4 cups, peeled and sliced. Using a mix of tart and sweet varieties gives depth to your filling.
- Brown Sugar: ¾ cup adds a caramelized flavor that complements the apples.
- Cinnamon: 2 teaspoons for that classic warm spice.
- Lemon Juice: 1 tablespoon to balance the sweetness.
These ingredients come together to create a scrumptious treat that transform a classic dessert into delightful apple pie bars. For more tips on perfecting your apple pie, check out this guide on making apple pie from scratch!
Preparing Apple Pie Bars
There’s something undeniably comforting about apple pie bars, isn’t there? They combine the best of both worlds: the buttery, flaky crust of a classic pie with the ease and portability of bars. Whether you’re preparing for a cozy family gathering or simply indulging in a sweet afternoon treat, these bars are sure to impress. Let’s walk through each step to create your own delicious batch.
Gather Your Ingredients
Before you dive into the kitchen, it’s essential to have everything ready. Cooking is much more enjoyable when you’re not scrambling for ingredients mid-recipe! For apple pie bars, here’s what you’ll need:
-
For the crust:
-
2 cups all-purpose flour
-
1 cup unsalted butter, chilled and cubed
-
½ cup granulated sugar
-
1 egg
-
½ tsp salt
-
For the apple filling:
-
3-4 medium apples (Granny Smith and Honeycrisp work beautifully)
-
½ cup brown sugar
-
2 tsp cinnamon
-
1 tbsp lemon juice
-
2 tbsp cornstarch
Each ingredient plays a role in achieving that perfect pie bar texture and flavor. You’ll notice that apples provide the essential tartness that balances the sweetness, leading to a delightful treat.
Make the Crust for Apple Pie Bars
Let’s kick off your baking adventure by creating the crust. This is where magic begins! In a large bowl, combine the flour, sugar, and salt. Then, add in the chilled butter cubes. Using a pastry cutter or your fingers, mix until the mixture resembles coarse crumbs.
Next, beat the egg in a small bowl and add it to the dry ingredients. Mix until it forms a dough. If your dough is too crumbly, adding a teaspoon of water can help bring it all together. Once your dough is ready, wrap it in plastic wrap and refrigerate for about 30 minutes to let it firm up. While that’s chilling, it’s time to prepare the filling.
Prepare the Apple Filling
Now, for the heart of your apple pie bars—the filling! Begin by peeling, coring, and slicing your apples into thin pieces. Aim for uniform thickness so they cook evenly. In a mixing bowl, combine the sliced apples with brown sugar, cinnamon, lemon juice, and cornstarch. The lemon juice not only prevents browning but also adds a zesty freshness that balances the sweetness of the apples.
Let the filling sit for about 10-15 minutes, allowing the flavors to meld. This step is crucial for ensuring the filling is truly delicious!
Assemble and Bake the Bars
Preheat your oven to 350°F (175°C) and grease a baking pan. Now, take about two-thirds of the crust dough and press it evenly into the bottom of the prepared pan. Spread the apple filling on top, making sure it’s evenly distributed. Crumble the remaining dough over the apples.
Pop the pan in the oven and bake for approximately 40-45 minutes, or until the top is golden brown and the apples are nicely bubbly. The aroma wafting through your kitchen will be irresistible!
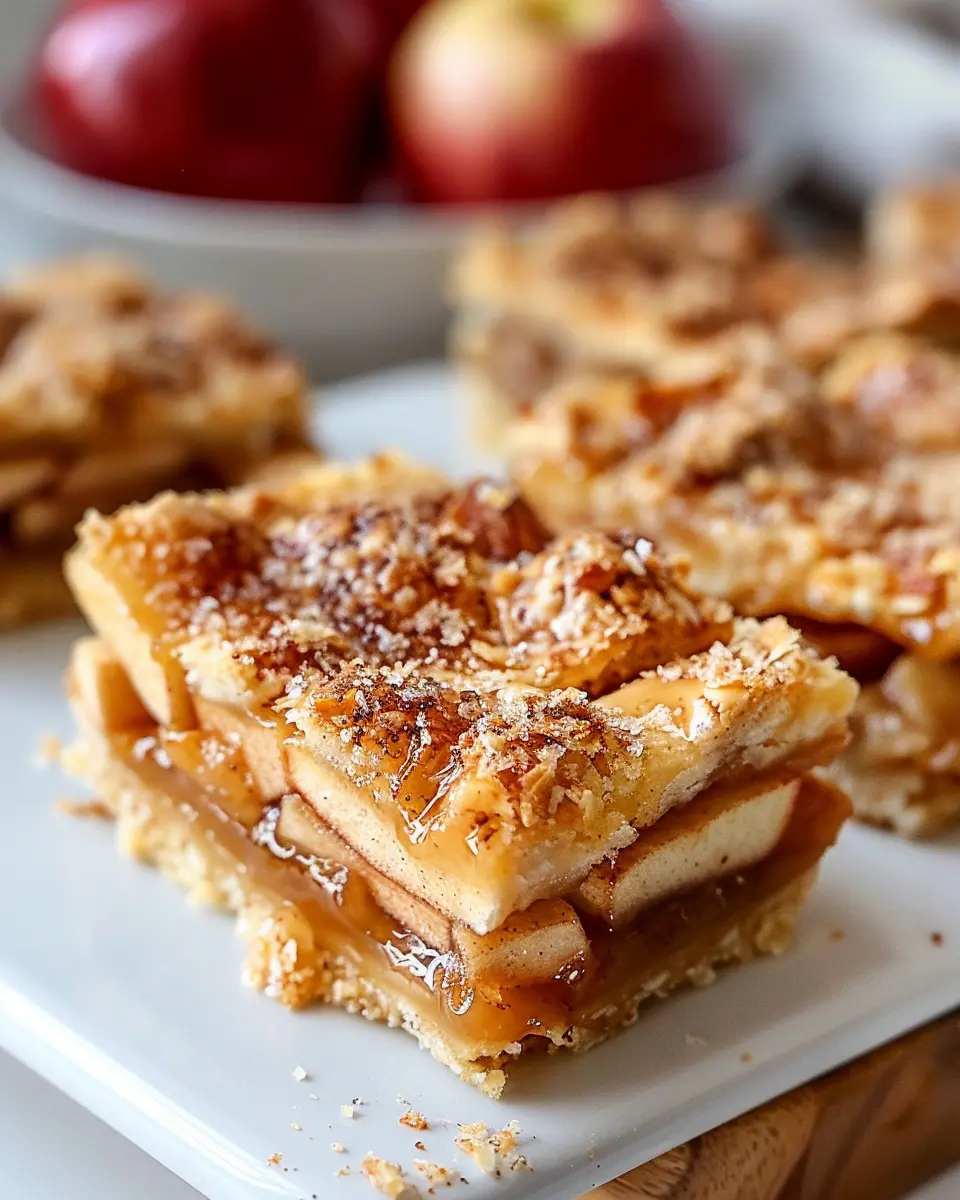
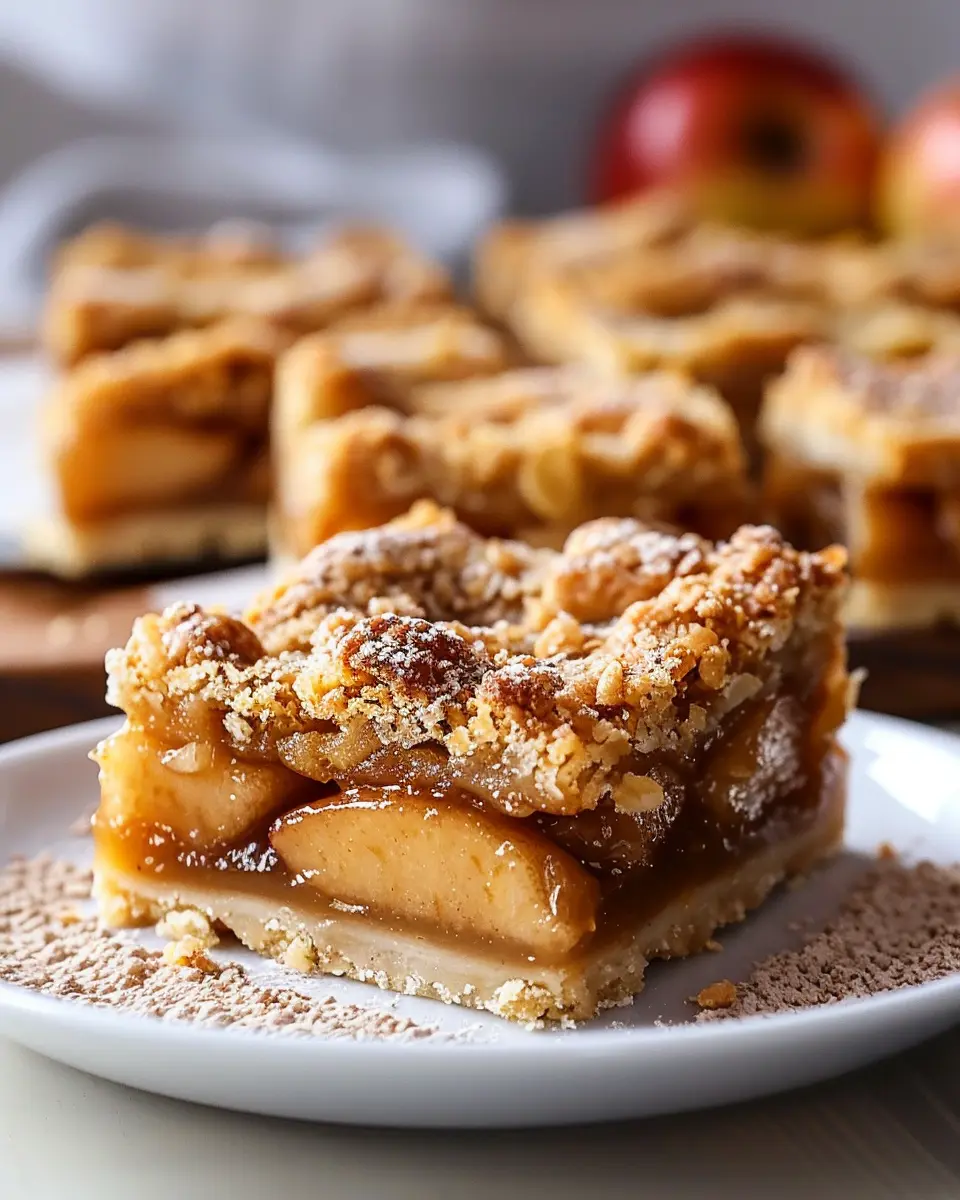
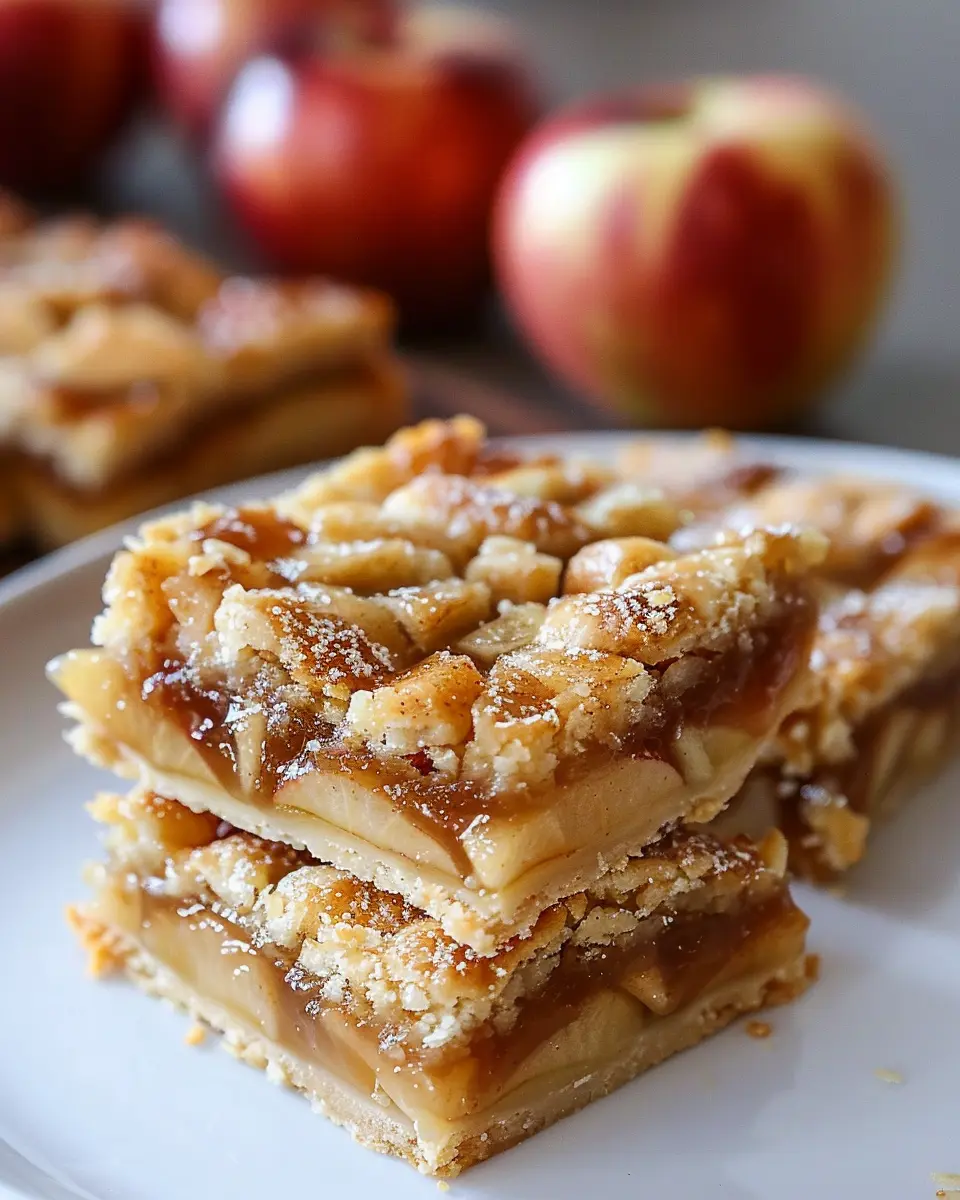
Cool and Cut the Bars
Once your apple pie bars are out of the oven, allow them to cool in the pan for at least 15 minutes. This cooling time is vital, as it allows the filling to set, making it easier to cut. After they’ve cooled, lift them out using the edges of the parchment paper for easy removal. Slice into squares or rectangles—whatever suits your style.
These bars taste just as good at room temperature, making them perfect for sharing or enjoying later. So, whether you top them with a scoop of vanilla ice cream or a drizzle of caramel sauce, you’re in for a treat.
Baking apple pie bars is a delightful experience that your future self will thank you for—enjoy every bite! Share your creations with friends or family and get ready for the compliments to roll in. Happy baking!
Variations on Apple Pie Bars
When it comes to apple pie bars, the classic recipe is just the beginning! Let’s explore some delightful variations that not only taste amazing but also cater to different dietary preferences.
Caramel Apple Pie Bars
For those with a sweet tooth, caramel makes everything better! Start by drizzling warm caramel sauce over the baked apple pie bars before they cool. The gooey goodness pairs beautifully with the warm spiced apples. You might even want to mix in some chopped nuts or toffee bits for an extra crunch! This variation is perfect for cozy gatherings and dessert tables. Just imagine the surprise on your friends’ faces when they bite into these decadent treats!
Gluten-Free Apple Pie Bars
Living gluten-free doesn’t mean sacrificing flavor. Substitute regular flour with a gluten-free blend or almond flour. Be sure to check labels for hidden gluten in ingredients like oats or baking powder. Adding a bit of ground cinnamon and nutmeg to the crust can help enhance the overall flavor profile. Perfect for anyone needing to keep their diet gluten-free, these bars serve everyone at the table equally well. Check out resources like Celiac Disease Foundation for more tips on gluten-free baking!
Vegan Apple Pie Bars
For a plant-based twist, creating vegan apple pie bars is easier than you think! Replace butter with coconut oil or vegan margarine, and use flaxseed meal mixed with water as an egg substitute. The key is ensuring moisture; consider adding a splash of plant-based milk to the crust. These bars are not just friendly for vegans; they’re also deliciously rich and satisfyingly sweet for anyone looking for a healthier dessert option. Explore more vegan baking tips at The Vegan Society.
Whatever variation you choose, these apple pie bars are sure to be a hit, providing comfort and nostalgia in every bite!
Cooking Tips and Notes for Apple Pie Bars
Tips for Getting the Perfect Crust
Achieving the ideal crust for your apple pie bars can be a game-changer. Here are some handy tips:
- Chill Your Ingredients: Start with cold butter and cold water. This helps create a flaky texture that’s hard to resist.
- Don’t Overwork the Dough: Mixing too much can lead to a tough crust. Aim for a crumbly texture—it’s perfect for your bars!
- Use Parchment Paper: Line your baking dish with parchment for easy removal and cleaner cuts.
Suggestions for Serving and Storage
Once your apple pie bars are out of the oven, the fun really begins! Here’s how to enjoy them:
- Perfect Pairings: Serve warm with a scoop of vanilla ice cream or a drizzle of caramel sauce for an indulgent treat.
- Storage Tips: Keep leftovers in an airtight container in the fridge for up to a week. You can also freeze them for up to 3 months—just thaw and reheat for a delicious snack anytime!
For more tips on baking, check out this guide on butter temperatures to ensure your crust turns out perfectly.
Serving Suggestions for Apple Pie Bars
Creative Ways to Serve Apple Pie Bars
When it comes to presenting your luscious apple pie bars, think beyond the standard slice. You can elevate the experience with a few fun twists. Consider serving these bars in individual portions, topped with a sprinkle of cinnamon sugar for an extra flair. Plating them on a rustic wooden board can add a country charm that resonates with their homemade goodness.
For an added touch of flavor, why not drizzle some salted caramel or homemade vanilla glaze over the top? This not only looks stunning but also enhances the apple and spice notes.
Pairing with Ice Cream or Whipped Cream
There’s nothing like a scoop of creamy vanilla ice cream alongside your apple pie bars. The contrast of warm and cold is simply divine. You might also try a dollop of freshly whipped cream flavored with a hint of nutmeg for that holiday feel. If you’re looking to go a step further, consider using a scoop of maple or cinnamon ice cream to amplify those classic flavors.
For more ideas, visit The Spruce Eats to explore additional serving tricks!
Time Breakdown for Apple Pie Bars
Preparation Time
Getting your apple pie bars ready is a breeze! You’ll need about 20-25 minutes for prep. This includes peeling and slicing the apples, measuring out your ingredients, and prepping your baking dish. It’s a great time to put on some music and turn your kitchen into a cozy cooking space.
Baking Time
Once your apple pie bars are in the oven, you’ll need to wait for approximately 35-40 minutes. Baking them until they’re golden brown ensures a delightful texture. You might want to set a timer when you’re busy, so you don’t lose track of time and those tempting aromas wafting through your home!
Total Time
All in all, you’re looking at about 55-65 minutes from start to finish. This makes apple pie bars a perfect dessert for a weekday treat or a weekend gathering with friends. Have you ever thought about serving them with a scoop of vanilla ice cream? It’s a match made in dessert heaven!
For more tips on baking, check out this beginner’s guide to baking. And if you’re curious about the best apples for baking, you can find insights on that here. Happy baking!
Nutritional Facts for Apple Pie Bars
Calories per Bar
Each serving of these delicious apple pie bars contains approximately 180 calories. While it’s easy to enjoy these treats, keeping an eye on portion sizes can help balance indulgence with nutritional goals.
Key Nutrients Breakdown
When savoring these apple pie bars, you’re not just indulging your sweet tooth; you’re also getting a boost of valuable nutrients!
- Carbohydrates: Around 28g, providing energy.
- Dietary Fiber: Approximately 2g, important for digestion.
- Sugars: About 10g, adding sweetness.
- Protein: 1g, contributing to your daily intake.
- Fats: Roughly 8g, mainly from any added butter or nuts, so consider using healthy alternatives.
Want to make healthier choices? Check out NutritionData for more insights on macronutrient breakdowns. Enjoying your apple pie bars mindfully can be part of a well-rounded diet!
FAQs About Apple Pie Bars
Can I Use Different Types of Apples?
Absolutely! When making apple pie bars, choosing the right apples can really elevate your dessert. Some great options include Granny Smith for tartness, Honeycrisp for sweetness, or a mix of both to get that perfect balance. Did you know that mixing textures not only adds depth but also enhances flavor? Plus, you can explore local orchards for seasonal varieties!
How Can I Store Leftover Apple Pie Bars?
Storing your delicious apple pie bars is quite simple, ensuring they stay fresh for your next indulgence. Keep them in an airtight container in the refrigerator for up to a week. If you want to save some for later, these bars freeze beautifully! Just wrap them tightly in plastic wrap and then foil, and they’ll last up to three months in the freezer. When you’re ready to enjoy them, thaw them in the fridge and warm them slightly in the oven.
Can I Make Apple Pie Bars Ahead of Time?
Definitely! Making apple pie bars ahead of time is a fantastic idea for busy days or special occasions. You can prepare the filling and crust a day in advance. Assemble and bake them when you’re ready. This not only saves you time but allows the flavors to mingle even more. Remember, good things come to those who wait—or who plan ahead!
For further baking tips, check out the Joy of Cooking for some valuable insights into pie making. Happy baking!
Conclusion on Apple Pie Bars
Why You Should Try Making Apple Pie Bars Today
There’s a certain magic that comes from baking apple pie bars—the warm, inviting aroma of cinnamon and apples filling your kitchen truly transforms any day. If you’re looking for a delightful dessert that’s both easy to prepare and perfect for sharing, these bars are your answer. They come together quickly and can impress guests at any gathering. Plus, they’re ideal for meal prep, allowing you to enjoy a flavorful treat throughout the week.
So why not whip up a batch of apple pie bars today? You’ll be glad you did! For more tips and ideas, check out Food Network for inspiration and seasonal recipes.
PrintApple Pie Bars: Easy, Delightful Treat for Your Family Gatherings
Enjoy a delightful twist on a classic dessert with these easy apple pie bars, perfect for family gatherings.
- Prep Time: 20 minutes
- Cook Time: 40 minutes
- Total Time: 1 hour
- Yield: 12 bars 1x
- Category: Dessert
- Method: Baking
- Cuisine: American
- Diet: Vegetarian
Ingredients
- 2 cups all-purpose flour
- 1 cup unsalted butter, softened
- 2/3 cup granulated sugar
- 1 teaspoon vanilla extract
- 3 cups diced apples
- 1 teaspoon cinnamon
- 1/4 teaspoon nutmeg
- 1/4 cup brown sugar
- 1/4 teaspoon salt
- 1/2 cup oats
Instructions
- Preheat the oven to 350°F (175°C).
- In a bowl, mix flour, butter, and sugar until crumbly.
- Press half the mixture into the bottom of a greased baking dish.
- In another bowl, combine apples, cinnamon, nutmeg, and brown sugar.
- Spread the apple mixture over the crust.
- Top with the remaining crumb mixture and oats.
- Bake for 35-40 minutes or until golden brown.
- Let cool before cutting into bars.
Notes
- Serve warm with vanilla ice cream for extra indulgence.
- Can be stored in an airtight container for up to 3 days.
Nutrition
- Serving Size: 1 bar
- Calories: 250
- Sugar: 15g
- Sodium: 100mg
- Fat: 12g
- Saturated Fat: 7g
- Unsaturated Fat: 3g
- Trans Fat: 0g
- Carbohydrates: 34g
- Fiber: 2g
- Protein: 3g
- Cholesterol: 30mg
Keywords: Apple Pie Bars, Dessert, Family Gatherings