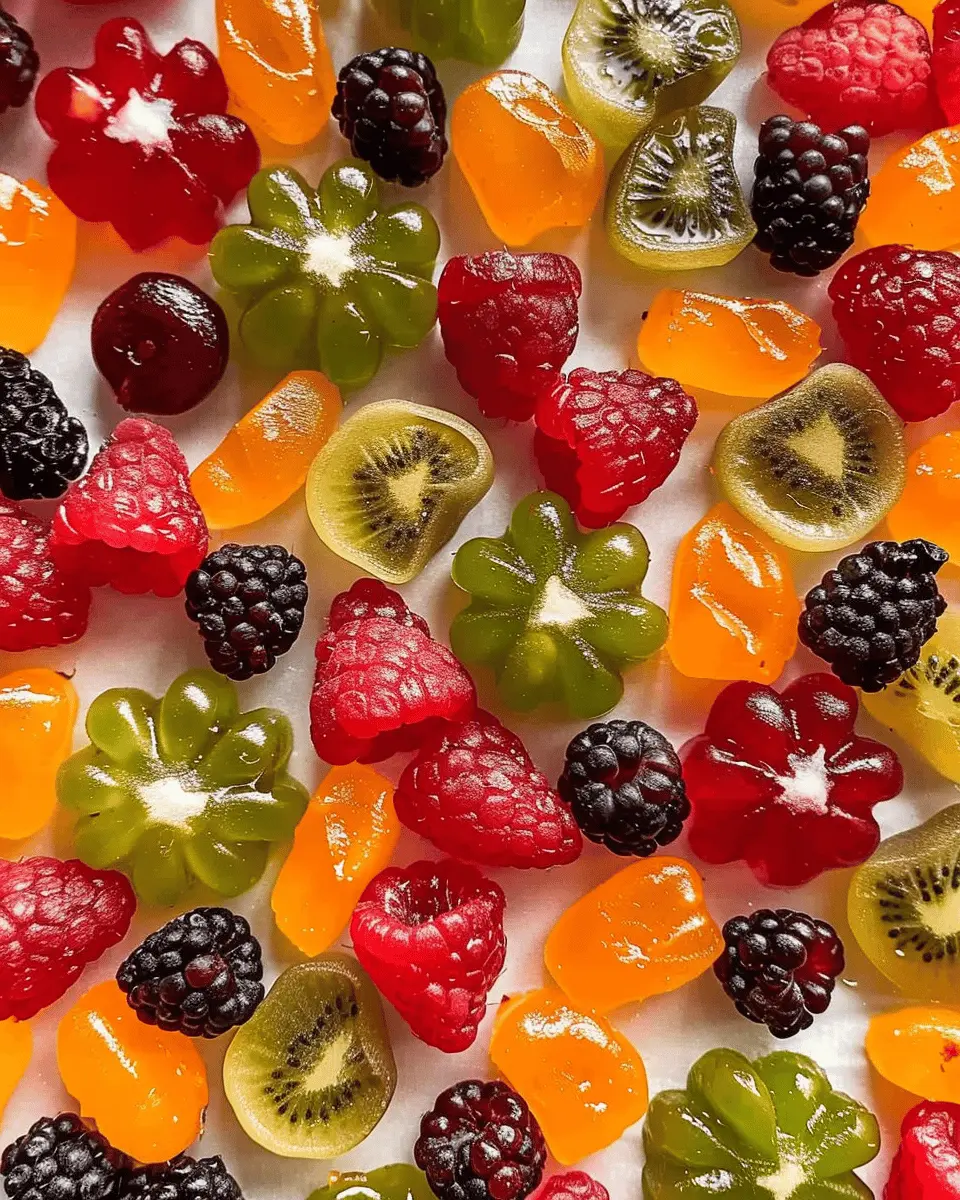
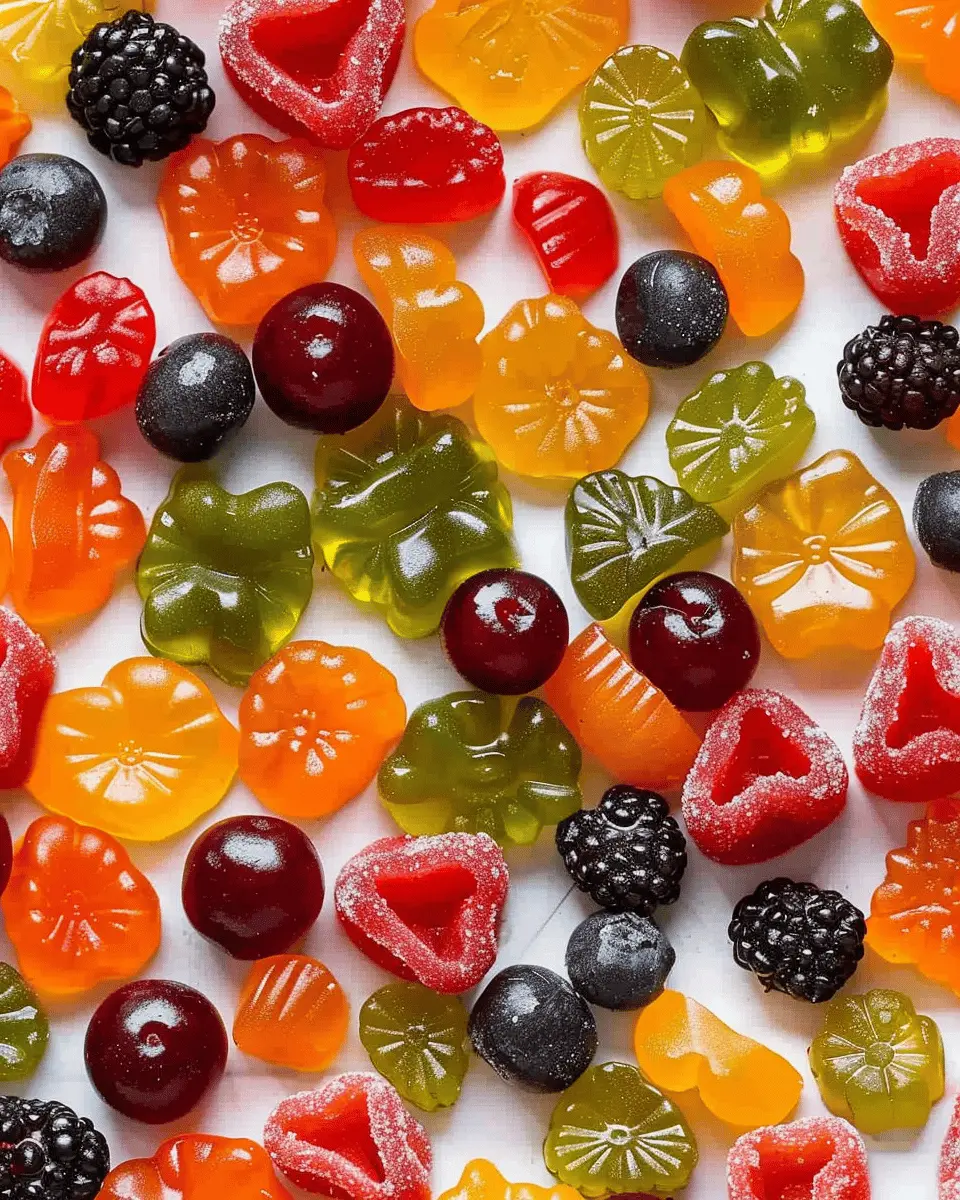
Introduction to Homemade Fruit Snacks
If you’re a fan of snacks but find yourself hesitant about store-bought options, making homemade fruit snacks could be your new go-to solution. Wondering why? Well, there are several compelling reasons to give these homemade treats a try, and your taste buds (and health) will thank you for it!
Why choose homemade fruit snacks over store-bought?
First and foremost, homemade fruit snacks are a fantastic way to control the ingredients. Many commercially available snacks are packed with preservatives, high fructose corn syrup, and unnecessary additives that can be harmful in the long run. By making your own, you can use only real fruit and natural sweeteners, allowing you to create a healthier option that aligns with your dietary preferences and goals. For inspiration, check out this nutrition guide from the Mayo Clinic.
In addition to health benefits, another perk is the cost-effectiveness. Did you know that the average price of a pack of fruit snacks can range from $3 to $6? When you make them at home, a single batch can yield several servings for a fraction of that price. With just a few fresh ingredients—like your favorite fruits, some gelatine, and maybe a touch of honey—you’re set to whip up a batch of deliciousness.
Let’s not forget the fun of experimentation! Homemade fruit snacks allow you to get creative. Want to combine strawberries and blueberries? Interested in adding a hint of lime for zest? The choice is yours. You can even involve friends or family in the process, making it a delightful kitchen activity. After all, who doesn’t enjoy a good cooking session filled with laughter and delicious aromas?
Lastly, there’s something incredibly satisfying about creating your snacks from scratch. Not only do you nurture your body with wholesome ingredients, but you also get that gratifying sense of achievement when you pull them out from the fridge. So, gather your ingredients, unleash your culinary creativity, and let’s dive into the world of homemade fruit snacks!
Ingredients for Homemade Fruit Snacks
Creating your own homemade fruit snacks is a fun and health-conscious way to enjoy a tasty treat. The best part? You likely have many of the ingredients in your kitchen already!
Fresh Fruit
- Fruits of your choice: Think berries, apples, or mangoes. Aim for about 2 cups to give your snacks robust flavor and natural sweetness. The vibrant colors also make them visually appealing!
Sweetener
- Honey or maple syrup: Just 2 tablespoons will help bring out the flavors without overpowering the fruit’s natural taste. If you’re looking for a low-sugar option, a natural sweetener like stevia works well too.
Gelatin
- Unflavored gelatin or agar-agar: You’ll need about 1/4 cup to set your fruit puree into those delightful snack shapes. If you prefer a vegan option, agar-agar is an excellent alternative.
Citrus Juice
- Lemon or lime juice: A couple of tablespoons can add a zesty kick that balances the sweetness. Plus, it helps to brighten up the fruity flavor!
Combining these simple ingredients will lead you to delicious, preservative-free fruit snacks that can rival any store-bought option. Want more ideas? Check out Healthline for the nutritional benefits of fruit-based snacks.
Preparing Homemade Fruit Snacks
Creating homemade fruit snacks is not only a fun culinary adventure but also an excellent way to ensure you’re snacking smartly. With just a few fresh ingredients, you can whip up something far tastier and healthier than those store-bought options filled with unknown additives. Let’s dive into the step-by-step process.
Gather your ingredients and equipment
Before you embark on this tasty journey, it’s essential to gather everything you need. This will save you the hassle of searching for items mid-recipe. For your homemade fruit snacks, you’ll need:
- Fresh fruits (choose your favorites like strawberries, mangoes, or blueberries)
- Vegetables (carrots and spinach are great options for added nutrition)
- Sweeteners (honey, agave syrup, or maple syrup can add the right touch of sweetness)
- Gelatin (for that desirable chewy texture; look for unflavored gelatin)
- Water or juice (to blend the mixture and enhance the flavors)
Equipment Needed:
- A blender or food processor
- Mixing bowl
- Measuring cups
- Silicone molds or a baking dish
- A refrigerator to help set your snacks
Having everything ready not only makes the process smoother but also heightens your excitement as you embark on this homemade endeavor.
Blend the fruit and vegetable mixture
Now that you’ve set the stage, it’s time to get blending! Start by washing and chopping your selected fruits and vegetables into smaller pieces. Toss them into your blender or food processor, and add a splash of water or juice to help with the blending process.
As you blend, think about the flavor combinations. Did you know that adding spinach not only boosts nutrition but also the green color remains subtle in taste? According to the USDA, incorporating a variety of fruits and veggies can significantly increase your vitamin intake—so feel free to get experimental!
Blend until you achieve a smooth, consistent mixture. The aroma alone will make your kitchen feel inviting!
Incorporate sweeteners and gelatin
Next, it’s time to make your homemade fruit snacks perfectly sweet and chewy. In a mixing bowl, combine your blended mixture with your choice of sweetener. Start with a small amount and taste as you go—sweetness is subjective, after all!
Once you find the balance, sprinkle in the unflavored gelatin (be sure to follow the recommended ratios on the package). You may need to dissolve it in warm water first to ensure even distribution. This step is crucial; proper gelatin incorporation leads to that delightful chewy texture everyone loves in a fruit snack.
Fill the molds or pan
With your mixture ready, it’s time to pour it into molds. Silicone molds work wonderfully, as they allow for easy removal once set. If you don’t have mold shapes, a baking dish will work just fine—just cut the finished product into bite-sized pieces!
As you fill your molds, you might want to leave some headspace at the top, as the mixture can expand slightly while setting. Use a spatula to smooth out the tops before popping them into the fridge.
Chill and set the fruit snacks
Finally, it’s time for the most patient part of the process—waiting for your homemade fruit snacks to chill and set! Place your molds in the refrigerator for at least 4 to 6 hours or until they feel firm to the touch.
Once set, carve out some time to enjoy your delicious creations! If you’re feeling generous, why not share with friends? After all, what’s better than showing off your kitchen skills while promoting healthy snacking?
In conclusion, creating your own homemade fruit snacks is not only straightforward but also allows for creativity and customization. Savor the process, consider trying different flavor combinations, and enjoy every chewy bite of your nutritious treats!
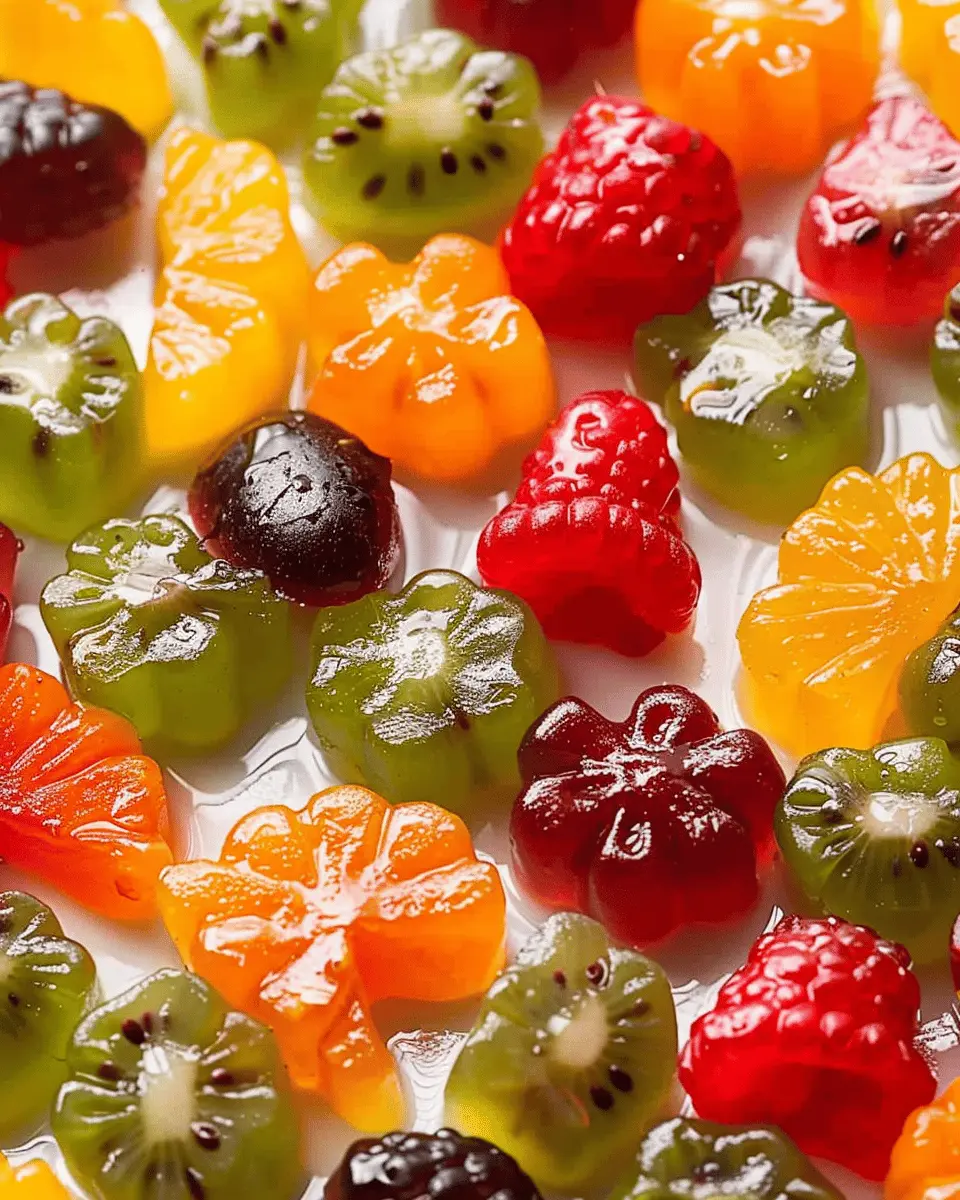
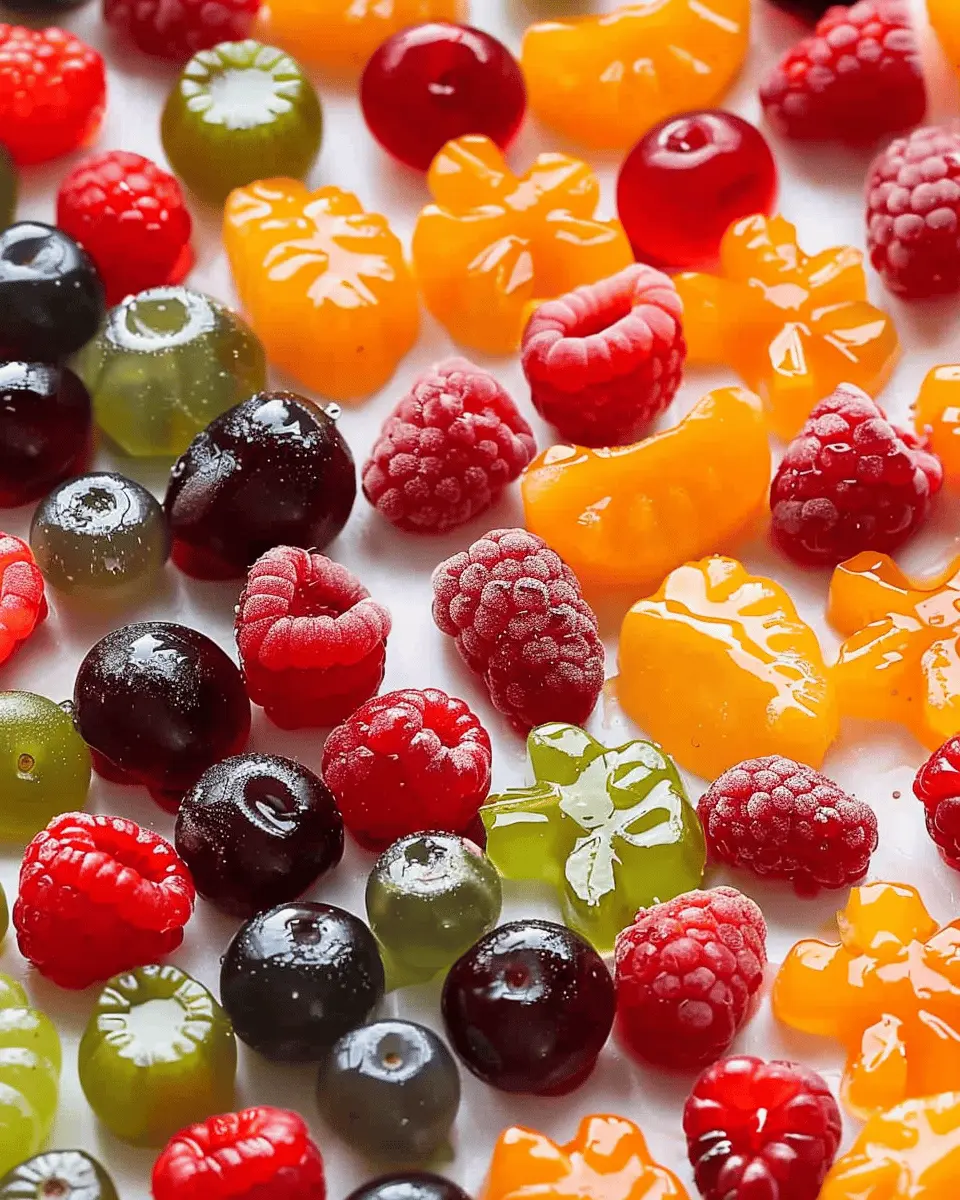
Variations on Homemade Fruit Snacks
If you’re excited to explore the realm of homemade fruit snacks, you’re in for a treat! Let’s dive into some vibrant variations that not only taste great but also pack a nutritious punch.
Green Fruit Snacks with Spinach and Grapes
Why limit yourself to the traditional when you can blend flavors seamlessly? For a green twist, mix fresh spinach and sweet grapes. The spinach adds a subtle earthiness while keeping the snack loaded with iron and vitamins. Simply blend about a cup of fresh spinach with a cup of seeded grapes, add some honey for sweetness if you’d like, and pour your mixture into molds. Chill them until set, and enjoy a healthy boost!
Red Fruit Snacks with Strawberries and Beets
For a bold, ruby-red option, consider blending strawberries with cooked beets. Not only do beets contribute a beautiful color, but they are also rich in antioxidants. Blend one cup of strawberries with half a cup of cooked, cooled beets. This combination is perfect for tantalizing your taste buds while sneaking in extra nutrients.
Orange Fruit Snacks with Peaches and Carrots
Imagine the sweet and slightly tangy taste of peaches combined with the natural sweetness of carrots. This golden-hued snack is not just delicious; it’s also packed with beta-carotene. By blending one cup of peaches with half a cup of cooked carrots, you can create a flavor bomb that’s as fun to make as it is to eat!
Blue/Purple Fruit Snacks with Blueberries and Zucchini
Last but not least, let’s not forget about blueberry and zucchini snacks. The blueberries provide a sweet-tart balance, while zucchini keeps your snacks moist. Combine one cup of blueberries with one cup of shredded zucchini for a hydrating treat that won’t disappoint.
With these variations on homemade fruit snacks, you’re sure to keep snack time exciting and healthy. Which one are you eager to try first?
Cooking Tips and Notes for Homemade Fruit Snacks
Tips for Ensuring the Gelatin Dissolves Properly
When making homemade fruit snacks, achieving the perfect texture starts with the right gelatin technique. To ensure it dissolves evenly, sprinkle the gelatin over the juice or pureed fruit and let it bloom for about 5 minutes. This step allows the granules to absorb liquid and prevent clumping. Once bloomed, gently heat the mixture over low heat, stirring constantly until the gelatin is fully dissolved. Avoid boiling, as high heat can diminish its gelling properties.
Substitutions for Fruits and Vegetables
Don’t have the exact fruits on hand? No worries—flexibility is key! You can easily substitute with any fruit you have, like mango or even mild-flavored veggies such as carrots or sweet potatoes. Just keep in mind that sweeter fruits will yield a tastier snack. If you’re looking for added flavor, a dash of lemon juice or a hint of vanilla can elevate your homemade fruit snacks impressively. By experimenting with different combinations, you’ll discover unique tastes tailored to your preferences. For more recipe ideas and beautiful fruit combinations, check out Cooking Light.
Remember, cooking is all about personal expression—so have fun with it!
Serving Suggestions for Homemade Fruit Snacks
Fun ways to enjoy homemade fruit snacks with friends
Gather your pals for a movie night or game day, and surprise them with your delicious homemade fruit snacks! These chewy treats make a perfect alternative to traditional popcorn or candy. Try arranging them into fun shapes using cookie cutters, or create colorful dessert platters to share. Not only are they tasty, but they also add a burst of energy that’s ideal for an evening of fun. Plus, you can engage in friendly debates over whose fruit snacks reign supreme!
Pairing fruit snacks with other healthy snacks
Elevate your healthy snacking game by pairing your homemade fruit snacks with other nutritious options. Consider creating a snack board with an assortment of:
- Greek yogurt drizzled with honey
- Sliced turkey bacon or chicken ham for a savory contrast
- A mix of nuts for a satisfying crunch
- Veggie sticks for a refreshing bite
This balanced approach not only diversifies flavors but keeps your energy up throughout the day. For more inspirational ideas, check out sources like The Nutrition Source or Eat Right. Enjoy exploring these combinations and crafting your ultimate snack experience!
Time Breakdown for Homemade Fruit Snacks
Preparation Time
The first step in crafting your homemade fruit snacks is the preparation, which typically takes about 15 minutes. This involves gathering your ingredients, washing your fruits, and chopping them into bite-sized pieces. It’s a great time to get creative with flavors!
Cooking Time
Next comes the cooking time, which usually lasts around 10 minutes. You’ll simmer your fruit mixture over low heat, allowing the flavors to meld beautifully. Don’t forget to stir occasionally to prevent sticking!
Chilling Time
After cooking, it’s essential to let your homemade fruit snacks cool and set. Chilling takes about 2 hours in the fridge. This step is crucial as it helps the snacks firm up for that satisfying chewy texture we all love.
Total Time
In total, you’re looking at approximately 2 hours and 25 minutes from start to finish. Not bad for a delicious, health-conscious treat that you can enjoy guilt-free! Want tips on making your snacks even tastier? Check out sources like the American Heart Association for some inspiration.
Nutritional Facts for Homemade Fruit Snacks
When you whip up a batch of homemade fruit snacks, it’s not just about the delightful taste. Let’s dive into the nutritional aspects and see what these treats provide.
Caloric Content
Each serving of your homemade fruit snacks comes in at approximately 60-80 calories, depending on the ingredients you choose. This makes them a guilt-free option for a mid-afternoon snack.
Protein and Sugar Levels
You can expect around 1-2 grams of protein per serving. The natural sugars from your chosen fruits contribute approximately 10-12 grams, offering a sweet yet wholesome burst of energy.
Key Vitamins and Minerals
These fruit snacks are packed with essential vitamins, particularly vitamin C and dietary fiber. Depending on the fruit used, you may also get a nice dose of potassium and magnesium, both important for overall health. For more insights on the benefits of fruits, check out Healthline.
By making your own snacks, you’re taking control of what goes into your body—no added preservatives! Give these a try and enjoy a healthy treat that’s both delicious and beneficial.
FAQs about Homemade Fruit Snacks
How long do homemade fruit snacks last?
When it comes to homemade fruit snacks, their shelf life can vary depending on the ingredients you use and how you store them. Typically, if kept in an airtight container in the refrigerator, you can expect them to last for about one to two weeks. For longer-lasting snacks, consider freezing them, which can extend their life up to six months! Just remember to thaw them naturally before enjoying.
Can I use frozen fruit for the recipes?
Absolutely! Using frozen fruit is a fantastic option for making your homemade fruit snacks. In fact, many people prefer it because frozen fruit is picked at its peak ripeness, retaining more nutrients and flavor. Just be sure to let the fruit thaw completely and drain any excess liquid before blending or cooking, as excess moisture can affect the texture of your snacks. For tips on using frozen fruit, check out this source from the USDA.
What are the benefits of making fruit snacks at home?
There are so many perks to crafting your own homemade fruit snacks! Here are a few:
- Control over ingredients: You can choose organic or locally-sourced fruits, and avoid artificial colors, flavors, or preservatives.
- Custom flavors: You can mix and match fruits to create unique flavors that cater to your taste.
- Healthier option: Homemade fruit snacks are generally lower in sugar compared to store-bought alternatives, making them a guilt-free treat.
Plus, you get to feel that satisfying sense of accomplishment from creating something delicious and nutritious right in your own kitchen. If you’re interested in some more benefits, be sure to check this article on healthy snack options.
With these FAQs, you are now equipped to dive into the delightful world of homemade fruit snacks! Happy snacking!
Conclusion on Homemade Fruit Snacks
Recap of the Benefits
Creating your own homemade fruit snacks is not just a fun and creative cooking project; it also empowers you to choose the ingredients that work best for you and your family. With natural fruits and minimal additives, you can whip up healthy snacks that are bursting with flavor and nutrition. Plus, they’re a great way to satisfy your sweet tooth without the guilt!
Encouragement to Try the Recipes
Why not give these recipes a shot? Whether you’re preparing for a busy week or just looking for a delightful treat, homemade fruit snacks offer endless versatility. Personalize them with your favorite fruits or molds, and involve your kids for added fun! For additional inspiration, check out Healthy Eating or Food Network. So, roll up your sleeves, grab some fruit, and enjoy the satisfaction of creating something delicious!
PrintHomemade Fruit Snacks: Easy and Delicious Recipes for All Ages

Discover how to make easy and delicious homemade fruit snacks that are perfect for all ages. These snacks are healthy and fun to make!
- Prep Time: 10 minutes
- Cook Time: 10 minutes
- Total Time: 3 hours
- Yield: 12 servings 1x
- Category: Snacks
- Method: No Cook
- Cuisine: American
- Diet: Vegan
Ingredients
- 2 cups fruit puree
- 1/4 cup honey or agave syrup
- 1/4 cup lemon juice
- 1 tablespoon gelatin (optional)
Instructions
- In a saucepan, combine the fruit puree, honey, and lemon juice over medium heat.
- Stir until the mixture is well combined and heated through.
- If using, sprinkle the gelatin over the mixture and stir until fully dissolved.
- Remove from heat and pour into molds.
- Refrigerate for a few hours until set.
- Once set, remove from molds and cut into desired shapes.
Notes
- Experiment with different fruit combinations for unique flavors.
- Add spices like cinnamon for an extra kick.
Nutrition
- Serving Size: 2 pieces
- Calories: 60
- Sugar: 12g
- Sodium: 1mg
- Fat: 0g
- Saturated Fat: 0g
- Unsaturated Fat: 0g
- Trans Fat: 0g
- Carbohydrates: 15g
- Fiber: 1g
- Protein: 1g
- Cholesterol: 0mg
Keywords: Homemade Fruit Snacks, Easy Fruit Snacks, Healthy Snacks